Happy New Year! I am all about the print, and every year I like to make my own calendars and print them out for gifts and to use in my office and studio. The process is really quite simple, and I’ll give you the simple steps to make your own calendar.
I also made a 5×7 inch set of calendars with a simple wood base. These are great as gifts for using on a desktop.


My Calendars For 2025
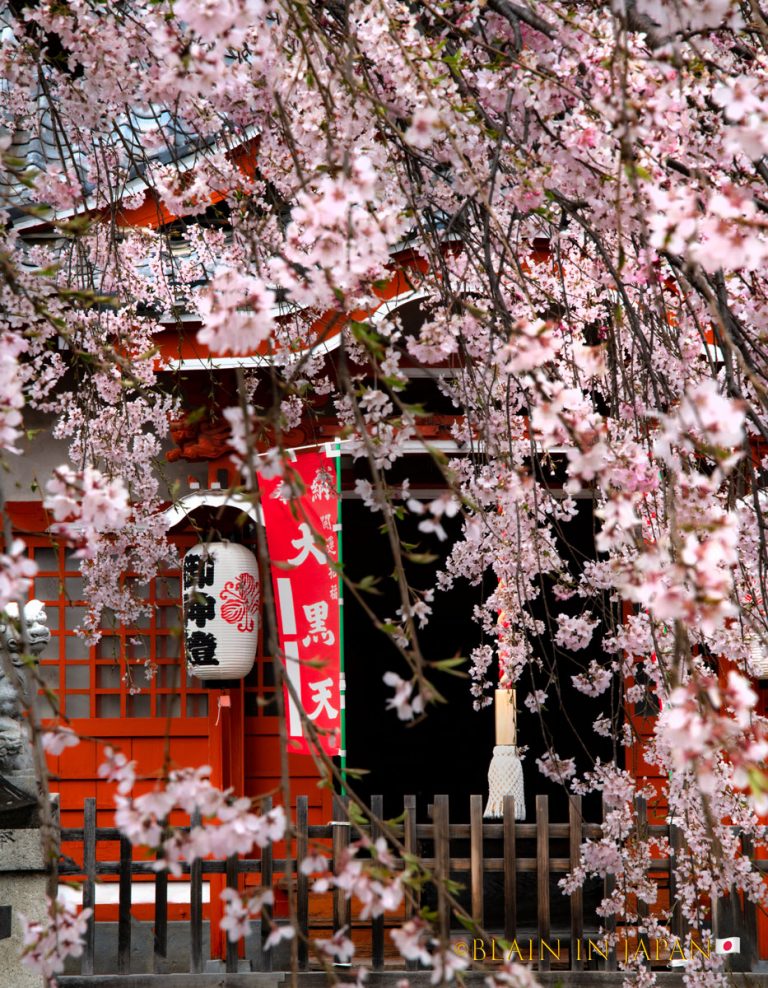
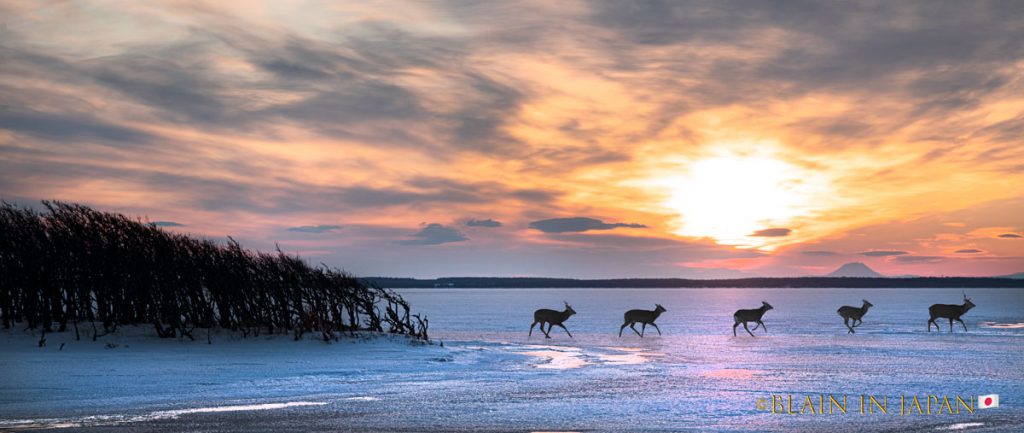
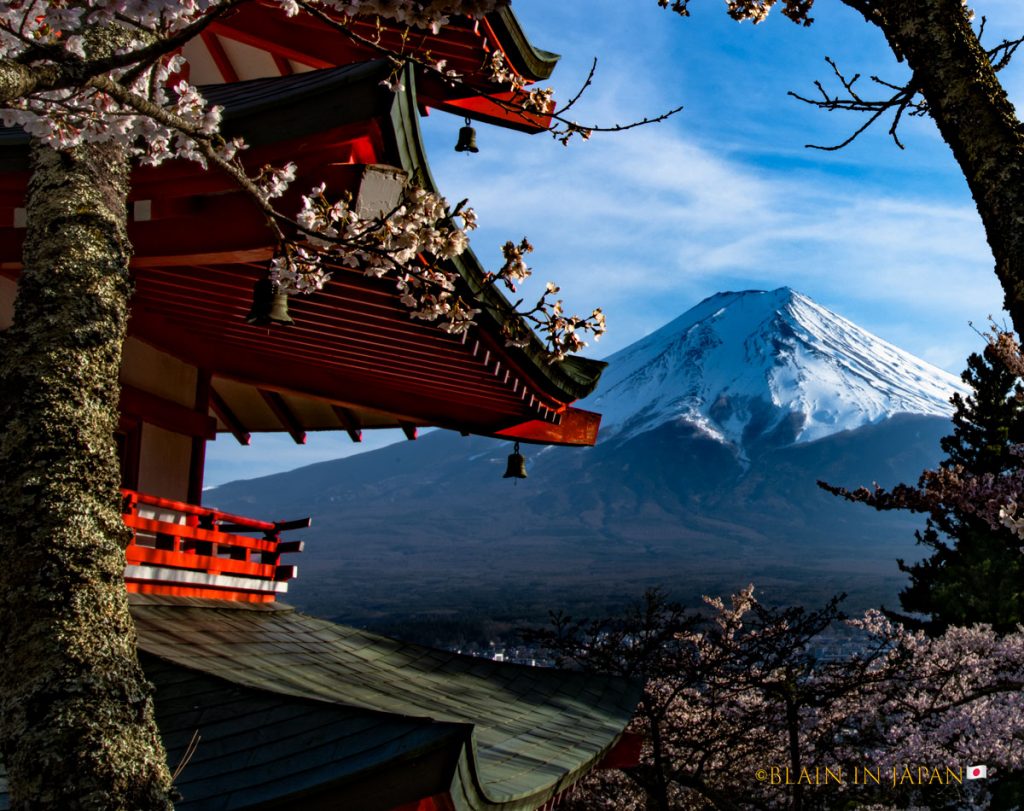
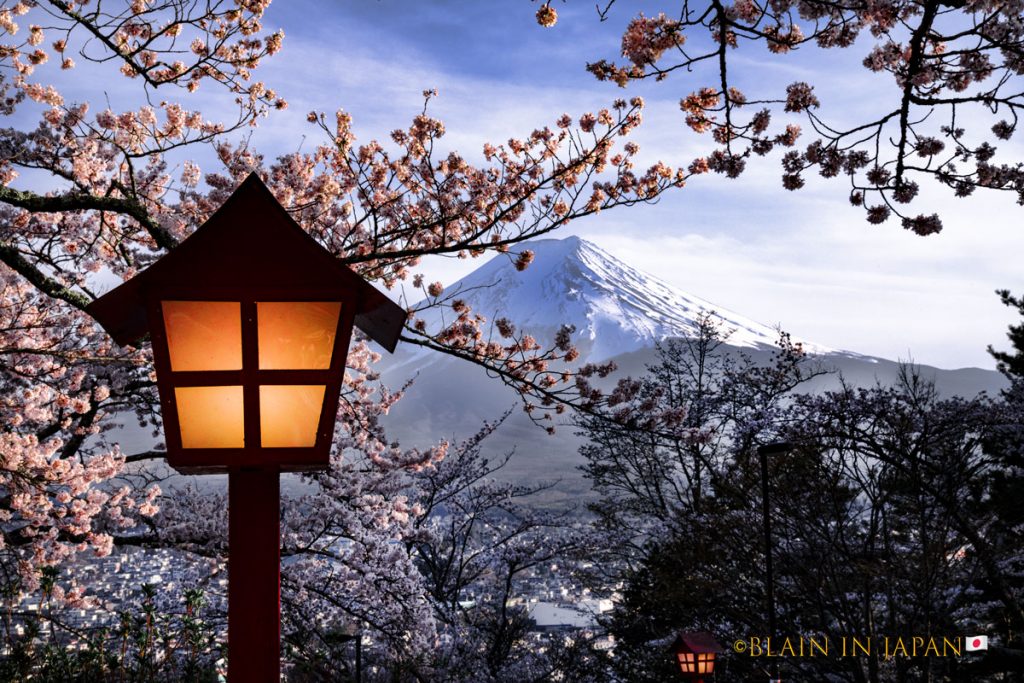
Below is the gallery of the images I used this year to make my calendars/. These are images compiled from the last few years of photography made in various locations around the world. Click on any thumbnail, then use the navigation arrows to go forwards or backwards.
I also made a yearly calendar . . .

First Step – Selecting Images

You’ll need to select 13 images to use for your calendar, and they should be in horizontal format. If you want to keep things consistent, these images should be in full-frame proportion. Since many of my images are cropped to the subject, I wasn’t too particular about that.
Once these images are selected, they should be copied to a folder and named. I use 2025 Image Finals as the folder title.
Second Step – Download The Calendar Templates
For the last several years, I have been getting my calendar template from Matt Kloskowski’s website. This year, he had 2 versions. I used both for my project, and he also had a yearly template that I also used.
Matt also has a nice video tutorial on his site. This tutorial is great if you want to print from Lightroom. Personally, I went with my version of creating in Photoshop and printing using Epson Print Layout.
Of the two versions that Matt provides, FREE of any charge, I like and use version A, but I don’t like the “To Do” and “ Note” section at the bottom. So, while opened in Photoshop, I crop the bottom of each.

Third Step – Layout Images in Photoshop
You can make your calendars in any size you’d like. I have been making mine in 5×7 size for gifts that can be displayed on desktops and 8.5×11 (letter) size for something a bit larger. I have also made 16×20 and 17×22 inch sizes for using as wall size.
Using letter size, I can scale the images to print any large size with no issues.
You can select a paper finish that you like. I have found for my uses that Red River’s Polar Pro Matte is a perfect fit. It’s a bright white surface with a nice weight to it.
Open Photoshop and from the File menu, select New and pick letter size or create a new size on your own.


These are the settings I use for the background layer. See above.
Next, select the template you downloaded from Matt Kloskowski’s sites and drag it over to the open template. When you do, the image will create a new layer and present you with an image of the calendar. Grab one of the black corner markers and, holding down the Option key, drag it to fit the template. I leave about 1/4 inch margin on both sides. Photoshop should show you a center marker as you drag it around to let you know it is centered vertically on the template. You may find it helpful to select the tab and drag it out to form its own window. Then, grab the image and slide it over to the background layer. This will create a new layer.


Do the same thing again for the image you want for that month.

If you have a logo or signature you want to include, you repeat the above procedure and position it where you want.

If you try to drag another element to the template and Photoshop doesn’t allow it, then you need to make sure you have deselected the previous element. Simply click outside of the template. You can tell an image or element is selected as it will have little black markers on the corners. Now you should be able to drag the next element over to the template.
The last element I add is my logo/signature. Presuming you have a logo or signature follow the same procedure and resize to fit. See above for what all the layers will look like when sized and finished.

The next step is to save this calendar. I save it once with all layers as a PSD in case I need to come back and make any changes. I then go to the Layers menu and flatten the image and save it as a TIFF file ready for printing. You could save it as a JPEG too, but I prefer Tiff.

Remember, if you are a Silver or Gold PXL member you can click on an image to see it full width of your screen window
You repeat the above steps again for each of the other months.
When complete, you are now ready to print.
Fourth Step – Printing

As shown in the photos earlier, I make 5×7 and letter-size prints. I own several Epson printers, but for this particular job, I use the Epson 8550 Eco Tank printer. I load the printer with paper.
As Matt Kloskowski shows in his video, you can print these calendars from Lightroom. However, as I mentioned, I like to print mine individually using Epson Print Layout. We have a tutorial on Epson Print Layout that can be found HERE. I drag all 13 files into the filmstrip of EPL, scale them to maximum size, select quantity, and hit print. It’s that simple.


After they are printed, you can package them up for gifts. For my 5×7 calendars, I include a small wood stand. These are from a wood board that has been cut to 5 inches and then a slot sawed into it to accommodate the thickness of all the prints. The size of the slot is dependent on the paper you use.
I have become a big fan lately of Red River Paper and use their Polar Pro paper in Letter size and 5×7 size.

Final Words:
I am all about printing and find these make great and fun gifts. It doesn’t take long, and once made, you can return and make more as needed. I also print out a large size of the year calendar that I can put up in my workspaces. These alone make great gifts.
If you don’t have a printer and still want to make your own calendars, you can do so using your iPhone or iPad. I suggest the following apps with a calendar option: I love Social Print Studio and Motif.


I hope you like this little printing project. I will share another article soon on how to make your own photo business cards. I think you’ll like that one.

Kevin Raber
January 2025

Elevate Your Vision


You may also like